Today's Lesson
In this lesson, students were asked to create an illustrated name tag where students drew their name and included characteristics to tell something about themselves. Students were given access to a variety of 2-D drawing materials, including watercolor paint, oil pastel, colored pencils, crayons and markers. Teachers introduced watercolor mixing techniques, rubbing alcohol, salt resist, and oil pastel to watercolor paint, after students investigated the dry materials first. In today's art exploration, students experimented with mixing materials to create new marks on their name tags.
Essential Understandings
- Art can communicate ideas/characteristics about oneself
- Artists combine materials to discover and create innovative marks
- Experimenting with materials can create new insights on how to use materials
Outcomes
Students will be able to:
- Make art that tells something about themselves
- Identify materials and how they made marks in innovative ways
- Mix colors to create new colors
- Mix materials to create new marks
Skills
- Innovative ways of manipulating materials into something new
- Creative problem solving
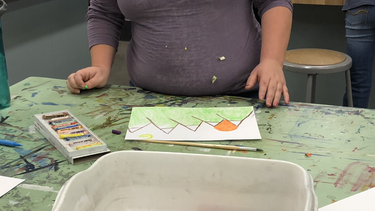
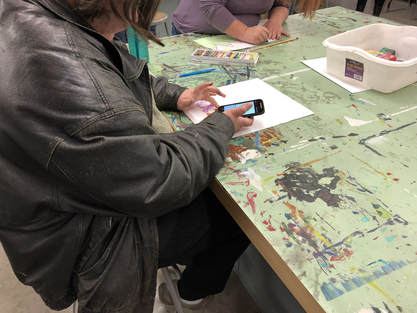
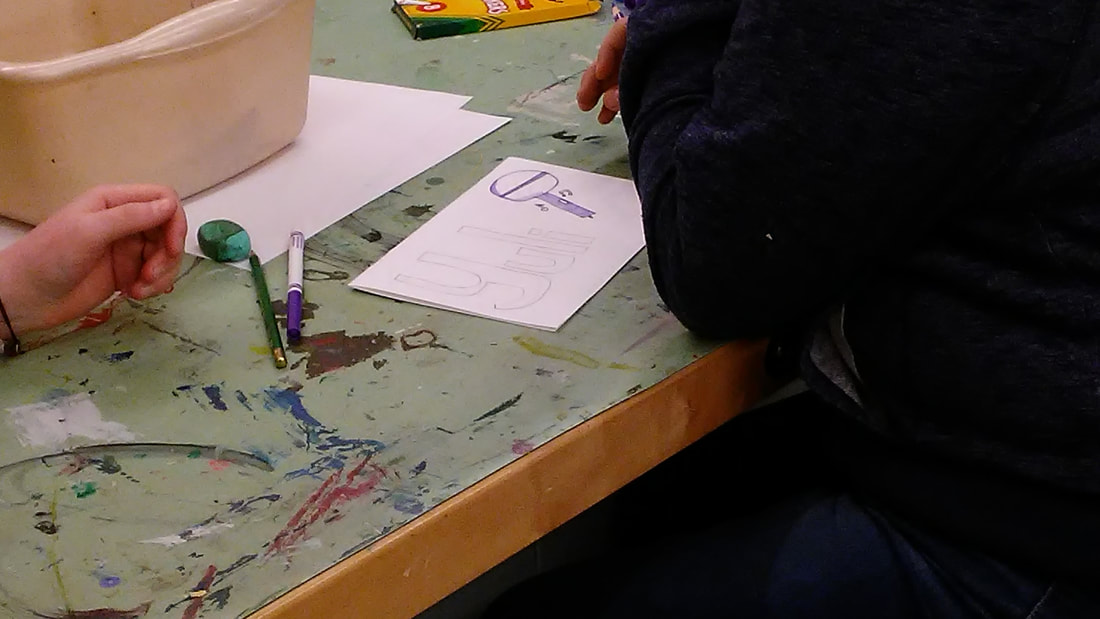
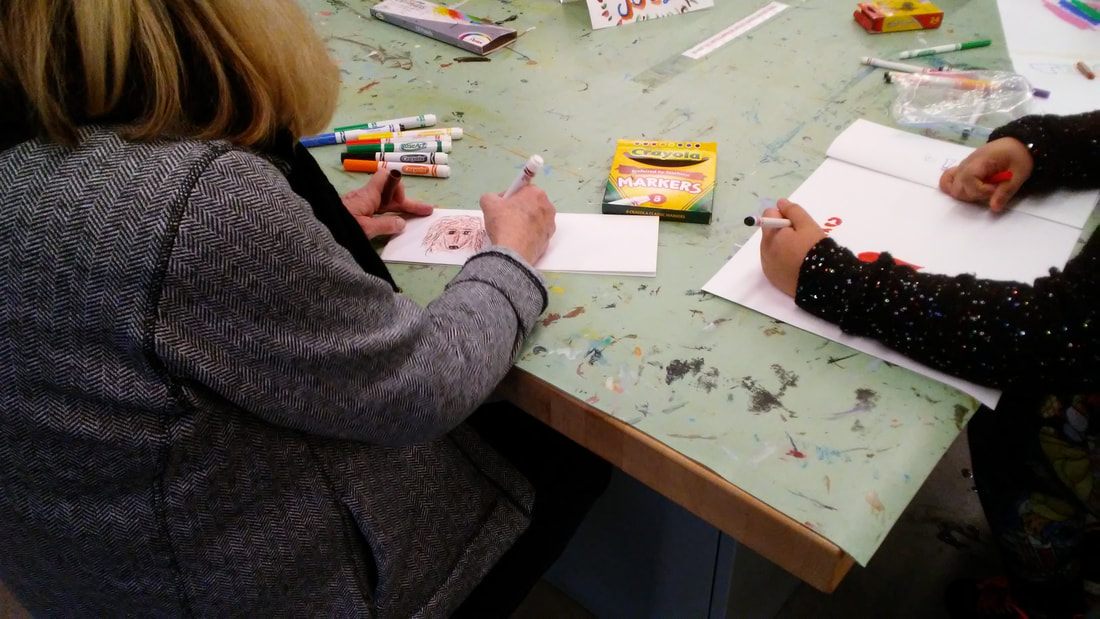
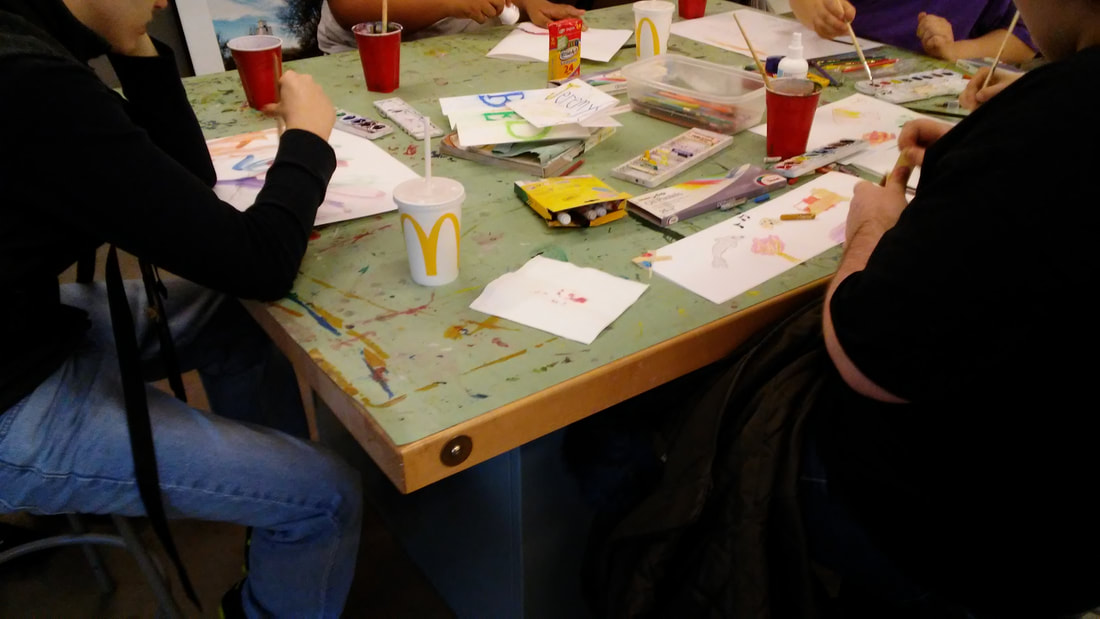
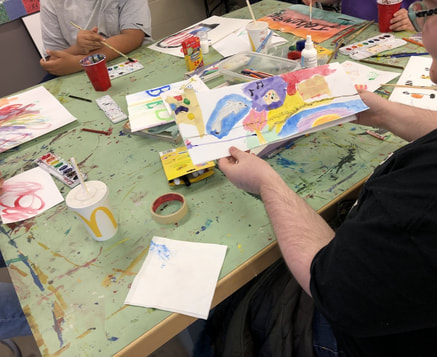
In our first class with Cooper Home, the students explored a variety of 2-D drawing materials, which included mixing dry materials with watercolor paint, in order to create a name plate that tells something about themselves. This experience allowed the students to investigate various drawing methods and materials, and allowed us teachers to learn something new about our students. After introductions, the teachers showed the class how to fold paper "hotdog" style to build their name tags. Students were given the option to build an "extended" name tag, just in case they wanted a bigger canvas to explore their ideas and mark making.
To begin the creative process, teachers showed the class the name tag they made, and prompted the students with questions about their interests, hobbies, favorite colors, animals, or TV shows/movies. Simple sketches were drawn on the board to aid in generating ideas. Students began creating their name tags beginning with the dry materials, picking and choosing from colored pencils, pencils, crayons, markers, and oil pastels. Upon asking students their ideas for their name tags, one student said how much he loved football and basketball! The student explained that he would definitely include a basketball in his art, since he plays Point Guard his basketball team. Another student commented she really wanted to include oil pastels on her name tag, since she hadn't had much experience with them before. Students displayed a wide range of interests and creating methods for their illustrated name tags.
To begin the creative process, teachers showed the class the name tag they made, and prompted the students with questions about their interests, hobbies, favorite colors, animals, or TV shows/movies. Simple sketches were drawn on the board to aid in generating ideas. Students began creating their name tags beginning with the dry materials, picking and choosing from colored pencils, pencils, crayons, markers, and oil pastels. Upon asking students their ideas for their name tags, one student said how much he loved football and basketball! The student explained that he would definitely include a basketball in his art, since he plays Point Guard his basketball team. Another student commented she really wanted to include oil pastels on her name tag, since she hadn't had much experience with them before. Students displayed a wide range of interests and creating methods for their illustrated name tags.
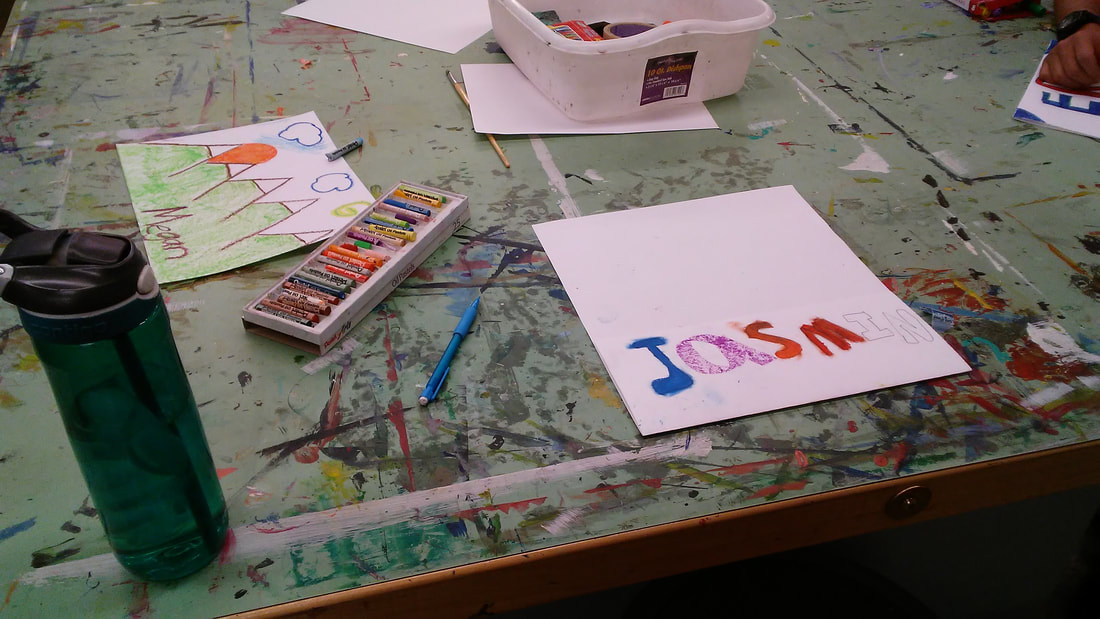
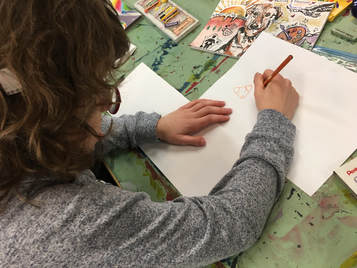
This student stated, "I like using the oil pastels for the lines I make when I use the pointed end, it's good for the details.". She resolved filling in the large spaces by peeling the paper off the pastel and drawing with the long side. She discovered that drawing using the long side of the pastel allows her to color in the space better, and she can create different shades of color too!
While walking around and observing the students, it was entertaining and insightful listening to the conversations that were going on. At first, a lot of the talk was more gossip and conversational, but as they delved deeper in their work they started talking about the differences in materials.

|
Some of them even went on to suggest possible things their friends could do to add some more differentiation to their name tags. In some cases, they thought it'd be cool but left it as it was while others integrated the different materials.
|
This student also gravitated towards the oil pastels. As she began creating her name tag, she questioned "how can I smear the colors around?". After some thought and experimenting, she declared, "I can use my finger, just like those blendy sticks! I'm going to smudge my name on my paper now.".
As they continued to explore the different mediums, we began to notice the overlapping of materials and how they used them to their advantage. Some were using multiple mediums for one letter in their name tag while others relied on two to create an interesting combination in colors and/or texture in some instances.
|
A lot of personal interests could be seen being put into the name tags. Some of them were looking at reference pictures of video game characters, others were looking at common symbols used in their favorite shows, and others were looking at references of nature.
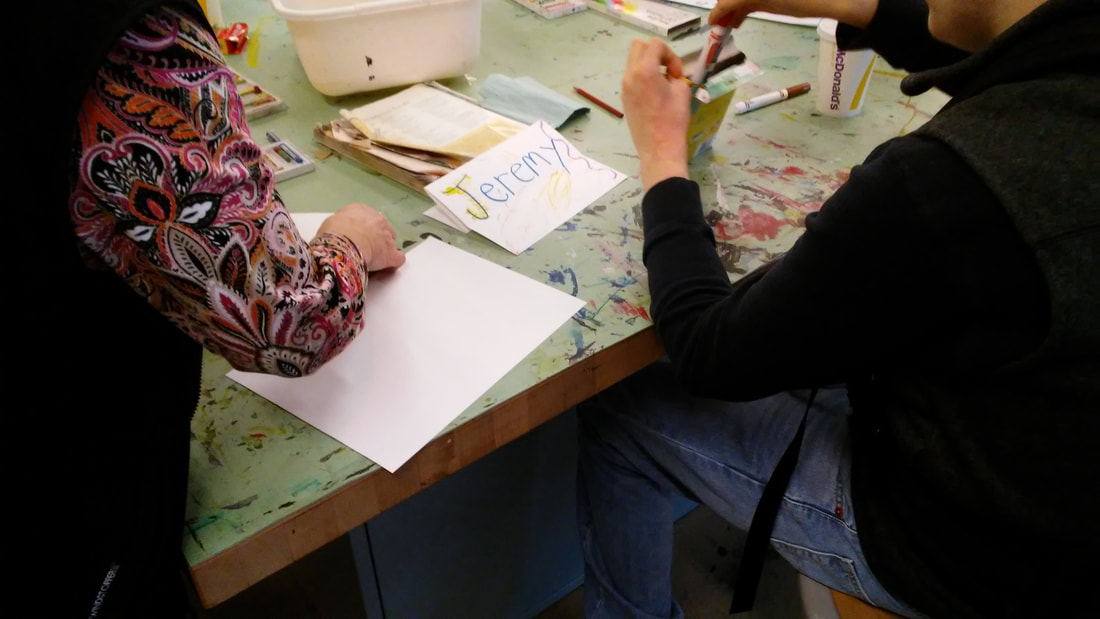
Even as the students continued to explore the mediums that were provided, some of the assistants were working on name tags of their own and offering their own insight to the way the materials could be used.
|
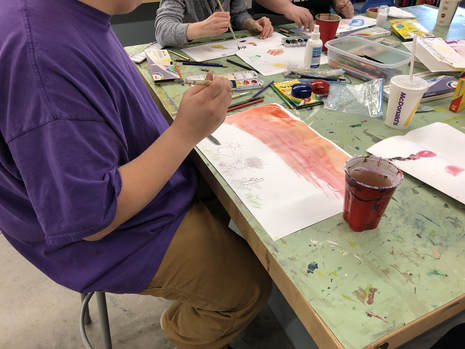
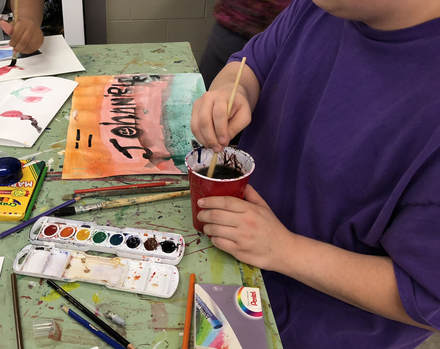
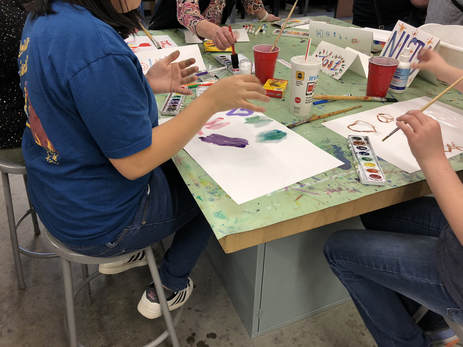
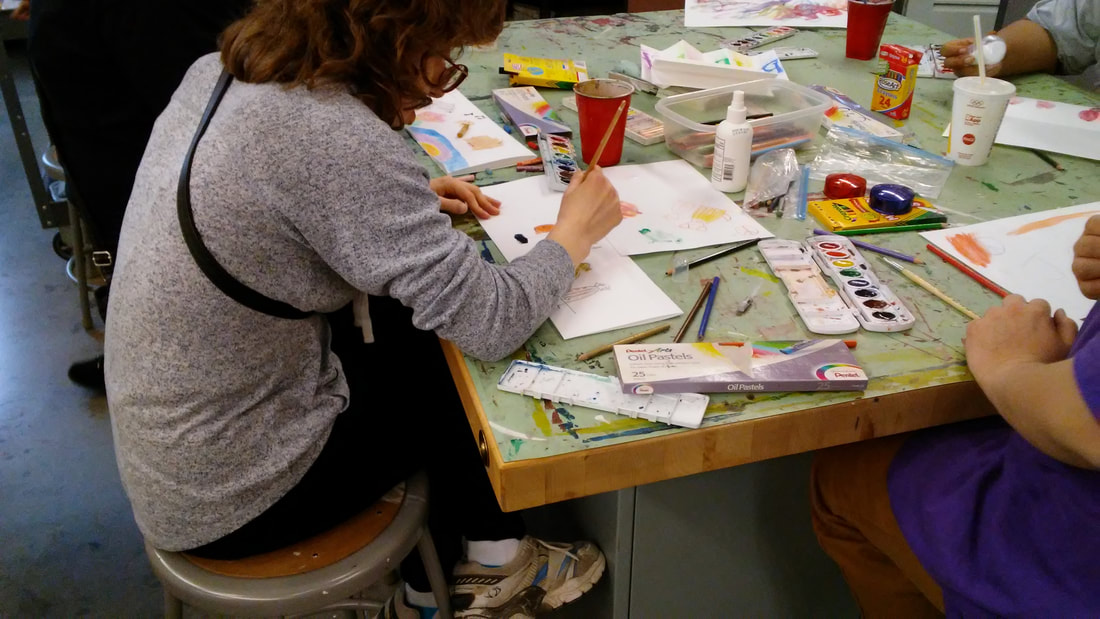
After some time experimenting with the dry materials, the teachers gathered the students into small group to demonstrate some basic watercolor techniques. Teachers showed students how to mix colors on paper, masking, salt resist, and adding alcohol to the wet paint. Students were amazed by these processes, students all around the classroom were saying "Whoa!" and "That's so cool!" The students were eager to continue working and use the watercolor paints in their projects.
|
|
While using the watercolor paint, this student looked puzzled at first. "How come the paint is really light?" Then by experimenting with the amount of water mixed in the paint, he discovered the less water he used to mix with the paint the darker the color. He then combined the watercolors and salt; he exclaimed "The salt makes the paper look bumpy, it's awesome!"
|
|
This student said that she wanted to draw a dog but did not know how. After some drawing instruction on basic shapes and lines she started drawing. At first she expressed confusion and then after a minute her face lit up and she excitedly exclaimed “I get it!”. She continued to draw her dog as well as another using markers. She creatively switched to use watercolor paint to color her drawings in.
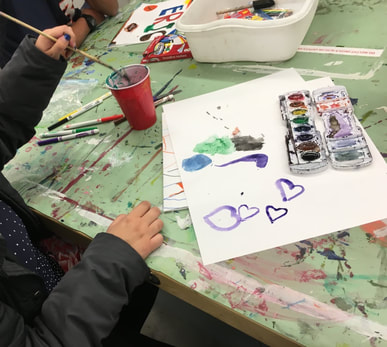
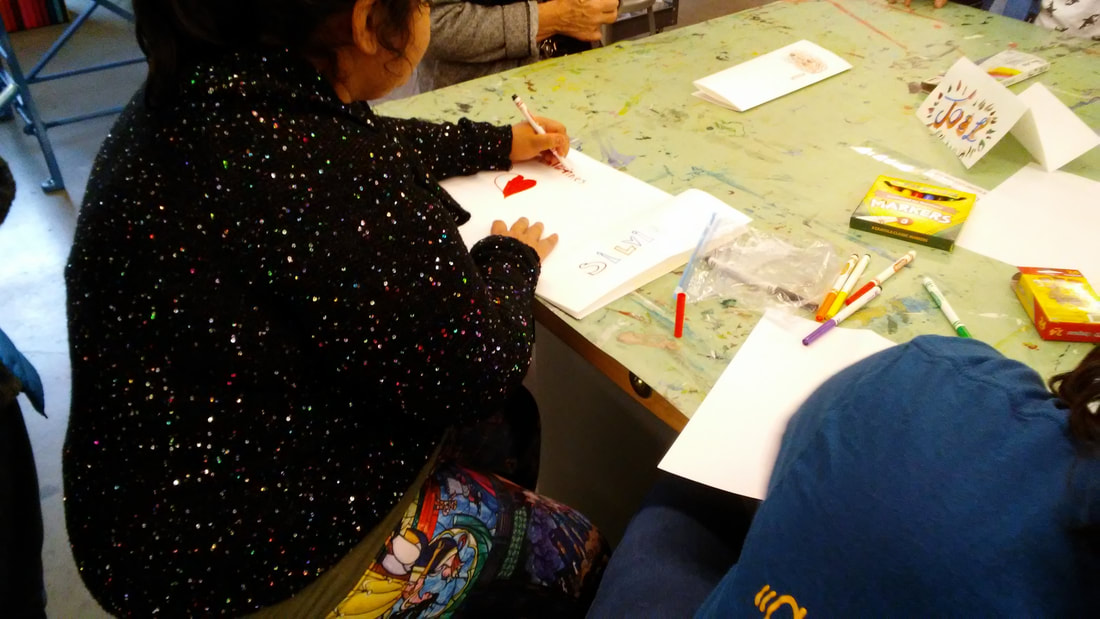
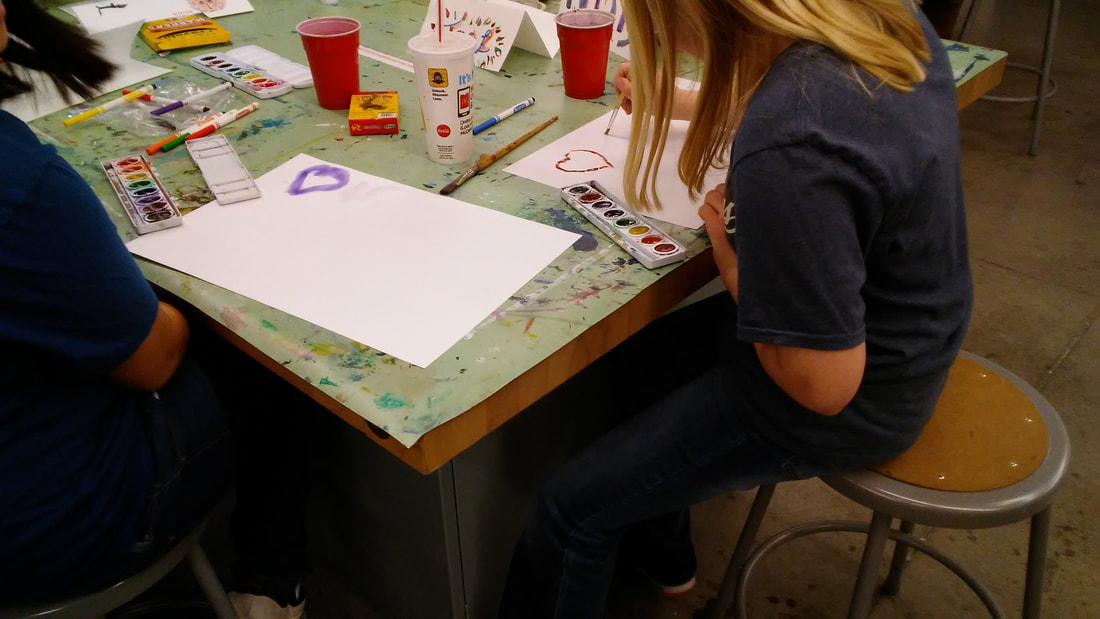
This student asked how to draw a heart. The teacher instructed how to draw shapes and lines that could connect and essentially make a heart. She expressed that it was challenging at first but continued to create all different shapes and sizes of hearts. She explored different materials such as pastels and watercolor to create her hearts. She discovered that depending on her lines and shapes, that her heart will appear differently on the paper. She played around with different colors and shapes on her paper before adding these ideas to her nametag.
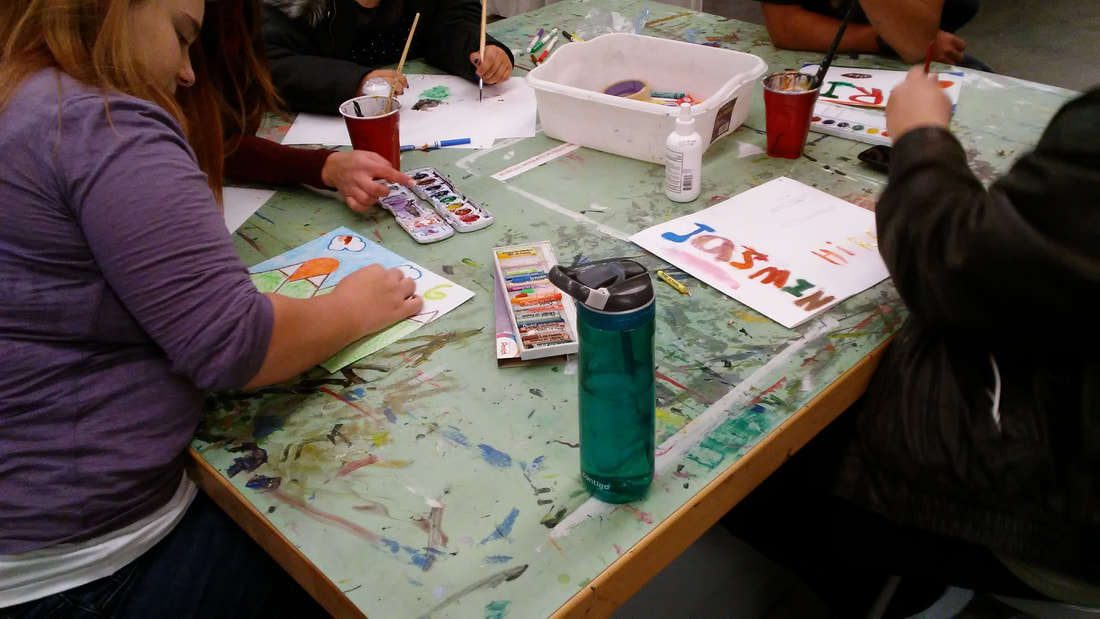
This student commented "I really want to try mixing a bunch of things with watercolors." She planned out multiple paint samples on her paper, and began mixing materials. After analyzing the results, she said "My favorite one is spraying alcohol on the paint! I like the design it makes." She declared that she will use this on her artwork.
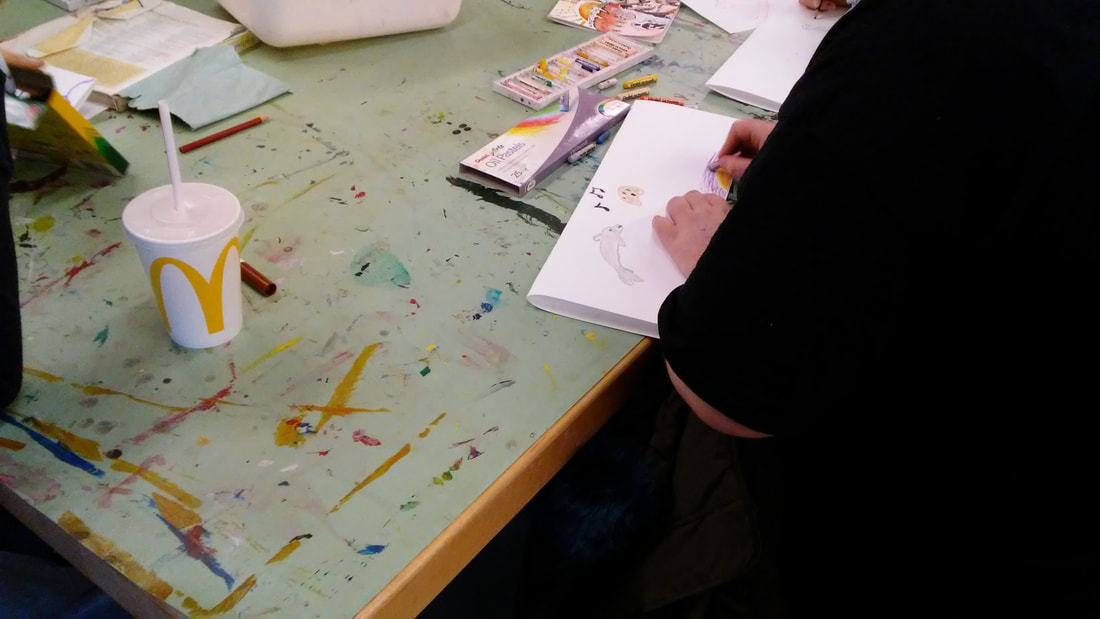
This student expressed her love of art and painting. She said, "I love watercolors, art has always been my favorite! I love animals too, so I wanted to make a dolphin." She expressed confusion when she experimented with adding masking tape to her project. "I didn't really know what to do with the tape, so I tried to make some shapes." She experimented with the tape, and realized she could fill in the shapes with paint.
|
|

Our first meeting concluded with students telling the teachers and other students about their name tags. In small groups teachers prompted students with: How does your name tag represent something about yourself? What discoveries did you make? Were there any unexpected challenges? Check out any final thoughts and insights from the students in the gallery of their work below!
