Today's Lesson
In today's meeting with Cooper Home, students experimented with clay to create coil and pinch pots. The focus for this class period was to build and refine their pots so they would be ready to fire and paint for the next class period. The students were asked to consider what function their pot would serve as they built them. Teachers demonstrated to the class pinch pot building, coil building, handle pulling, and slip and scoring techniques to ensure proper connections of pieces to one another. The students explored the possibilities of what the clay medium is able to do in this class period.
Essential Understandings
- Artists communicate ideas by creating art in a variety of ways
- Artists will understand the clay medium and possibilities in 3-D art
Outcomes
Students will be able to:
- Use techniques and tools in innovative ways to create a form
- Create 3-D art that serves a function
- Understand the abilities and limitations within the clay medium
- Understand techniques to properly build a clay form ready for firing
Skills
- Identify different techniques to build a clay pot/form
- Creative problem solving
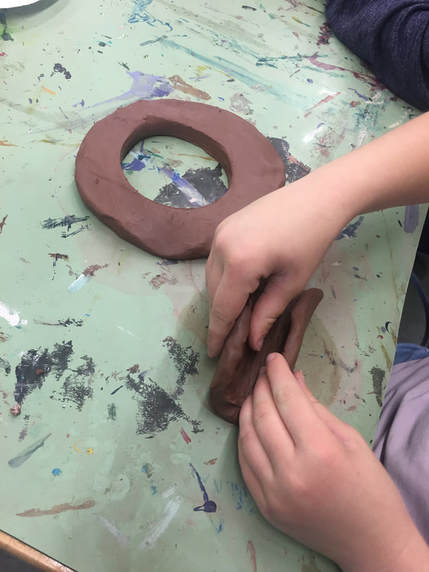
In our second to last meeting with the students from Cooper Home, the class explored 3-D art making by building pinch and coil pots using clay. Upon welcoming the students into the class, the teachers introduced that we will be making clay pots in time allotted. One teacher asked the class, "Have you created pinch or coil pots before?" All of the students in the class have done something similar to this in the past, so the teachers jumped right into some of the techniques students would utilize in their projects for the day. One teacher asked a student to roll out a coil while they explained how to do so. The teacher then modeled how to properly attach two clay pieces together with slip and score techniques to ensure a strong bond for the firing process. The students were eager to get their hands dirty and begin working.
For this art experience, students were asked to consider what technique they would use and what function their art could serve. One student stated "I really want a tea cup!" Another student mentioned that she wanted to create a piece that would hold all of her jewelry. Students began working and after some time beginning their projects, teachers demonstrated how to pull a handle and shape it to the desired shape and size. One thing that was apparent in this class period was each student approached their creation process in a very different way. Scroll down to see what our students made today!
For this art experience, students were asked to consider what technique they would use and what function their art could serve. One student stated "I really want a tea cup!" Another student mentioned that she wanted to create a piece that would hold all of her jewelry. Students began working and after some time beginning their projects, teachers demonstrated how to pull a handle and shape it to the desired shape and size. One thing that was apparent in this class period was each student approached their creation process in a very different way. Scroll down to see what our students made today!
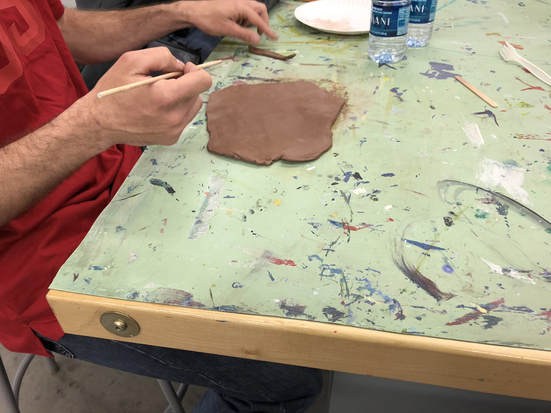
This student began building his pot by rolling out a slab. He stated, "I thought this would be good to make a base, then I can build it up from there." This student demonstrated combining slab and coil techniques to create his art. Upon asking if he'd like a stencil to cut out his base shape, he stated "I'll just freehand this, it'll probably change a little anyways."
This student also expressed interest in making a slab to create a base for her clay pot. Her approach was a little different than the previous student's method. She explained, "I would like to cut a bottom piece for my pot. I am a perfectionist and this is a good place to start." This student demonstrates incorporation of techniques and innovation with materials in her art making. Check out the video below of the student working!
This student showed interest in the coil building technique to create his clay pot. When asked about his process, the student explained "I roll out one really long piece of clay, lay it on top of the last coil, cut it down, and then attach it. This is what works well for me." The student experienced some difficulty in his art making also. He noted, "The clay is very wet and that makes it hard to shape." Upon discussion with a teacher, he concluded with "I'm using too much water! I see now, I'll dab my pot with a towel to dry it some." The student displayed and understanding of the limitations of using clay.
|
|
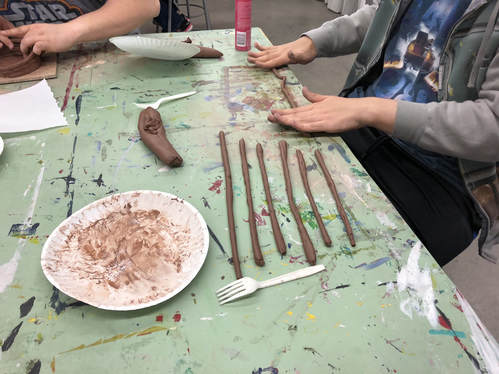
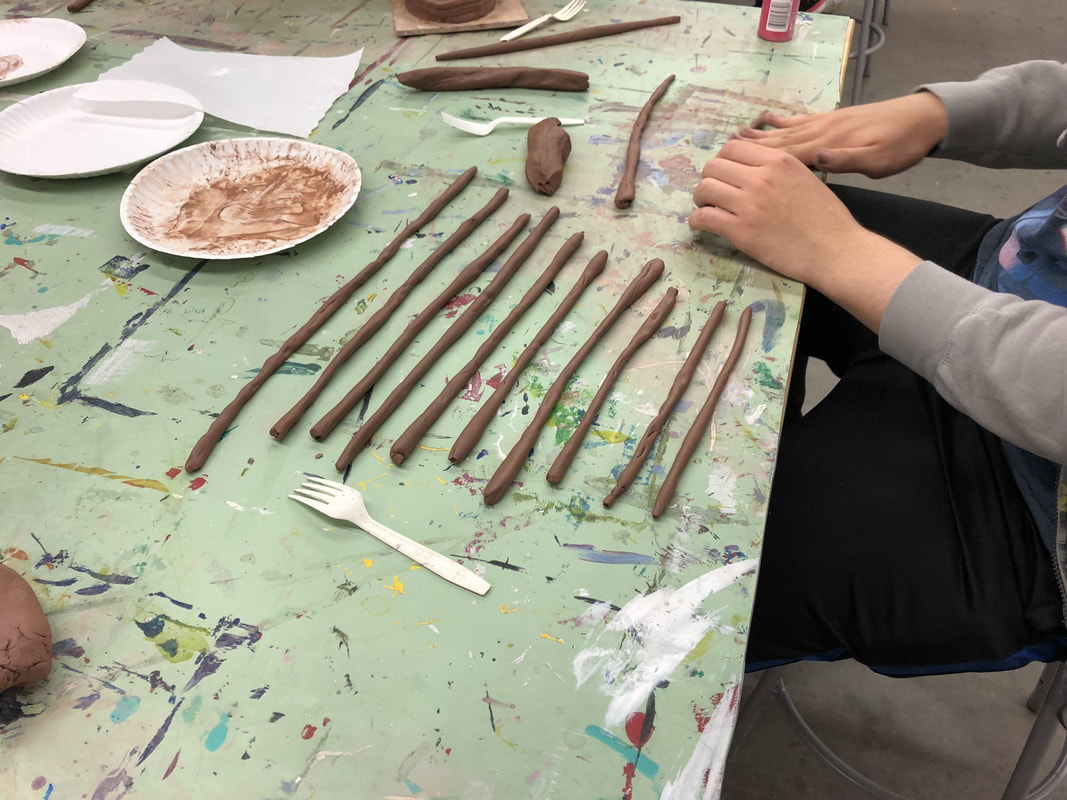
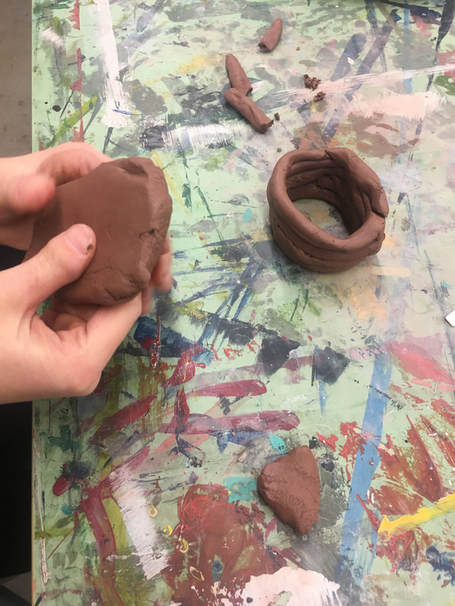
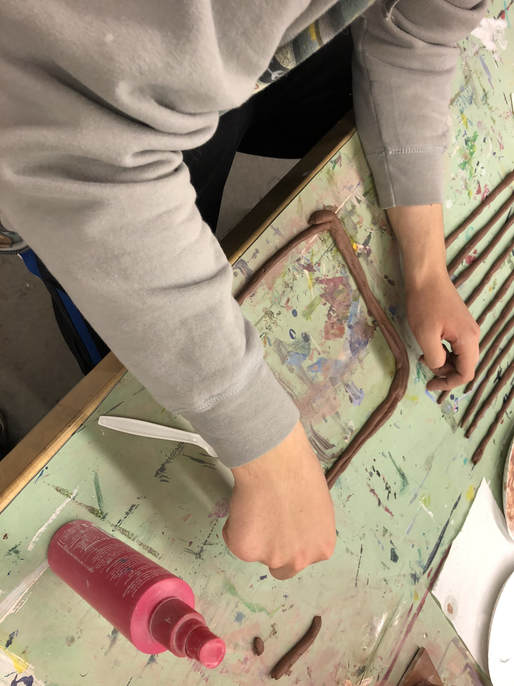
This student took the approach of coil building for his art project. He decided to roll out all of his coil pieces before attaching them together to make a form. When asked about his process the student said, "I thought it would be easiest to work this way. I like doing things in stages, so I started with the coils then I will attach them all together once I am done with this." The student demonstrated his own version of creative problem solving in this lesson. Check out the video of the student below rolling out one of his coils!
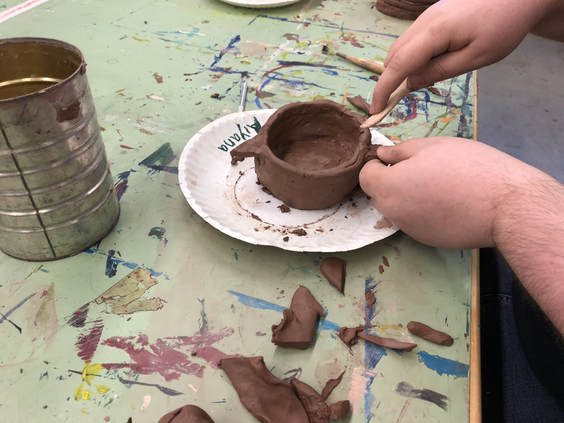
This student used past clay experience to assist her in today's art project. She explained, "In the past I didn't slip and score a project and it fell apart in the kiln. I don't want that to happen again, so I will make sure to attach my pieces really well." The student clearly showed an understanding of the importance of the slip and score process in this lesson. She exclaimed "I just really want a nice tea cup!"
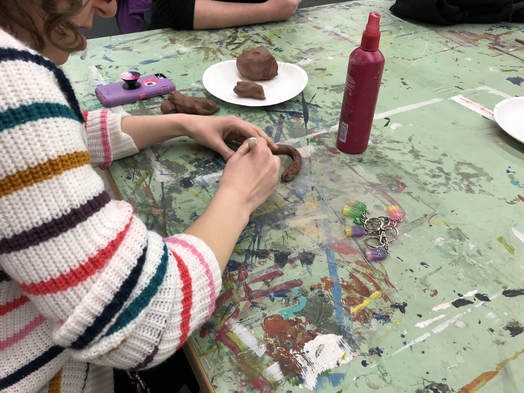
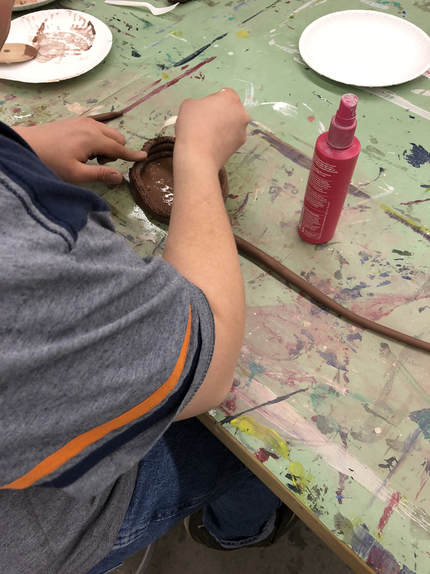
This student seemed a little confused on why the slip and scoring process is necessary in attaching two clay pieces together. After a brief discussion with a teacher about the technique, she declared "That makes sense! It is like the glue that holds everything together!" The student expressed understanding of the importance of the technique and some of the limitations with working with clay. See the video below of the student scoring her coil.
As this student progressed in creating his coil pot he noted, "I really like this wooden tool. It's really good for smoothing the clay out. It is so much easier than using my fingers!" The student demonstrated understanding of how the tools available to him can be beneficial to creating this project.
This student wondered how she could potentially use a slab to create her clay pot. She states, "I cut out this piece of clay and I wonder how I can shape it into a cup. I can try shaping it into a tube and see how that turns out. If it doesn't work, I can try again!" This student experimented a lot with the possibilities of clay in her project today. She also says "I like clay a lot because if you mess up just try again."
|
|
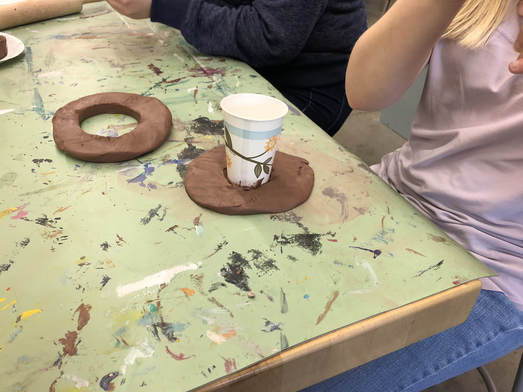
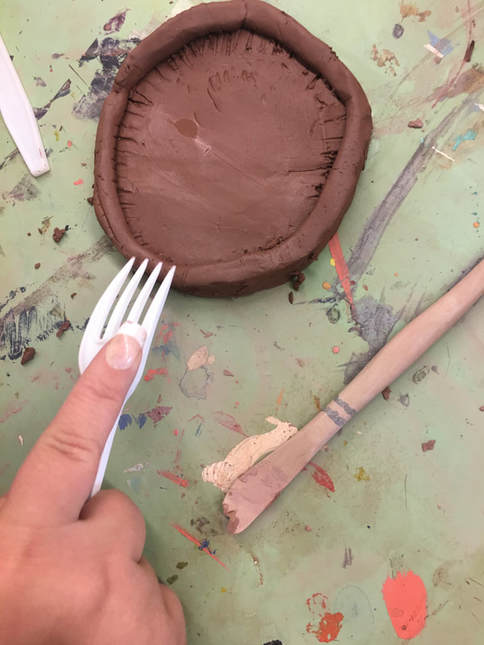
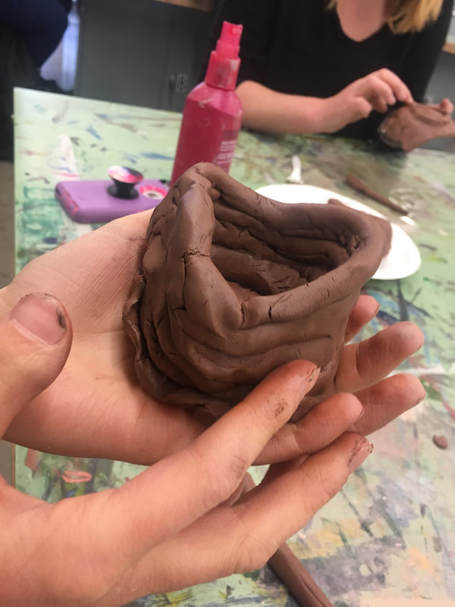
As this student made progress with her clay project, she looked quite puzzled when she made it to the point where she wanted to attach a base. "Making coils makes sense, but I don't know how to close up the bottom. I want this to be a cup!" After some trial and error with ways to seal the bottom, she realized a slab base would be the best option. "I think this is the best way to finish the cup! I flattened a piece of clay and pinched it to size. All I need to do is attach it!" The final thing this student noted was "I'm glad I waited to smooth everything out until the end, now I can do it all at once!"
This student took a slightly different approach to creating his clay project. Instead of making a circular form, the student created a square shape. "Everyone else is making a normal looking mug, I just wanted to try something new and a little bit different. Also I made my coils pretty long so why not use them?" The student demonstrated a creative and innovative method to creating his clay mug.
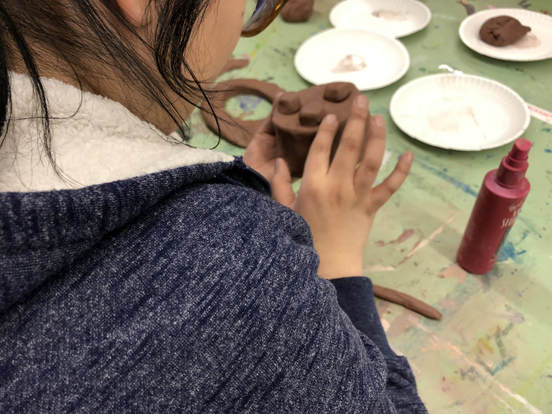
As this student finished creating the form of her mug, she stated, "I want to add little feet to the bottom. This way I will be sure which one is mine, and I think that it'll look kind of fancy!" The student explored adding pieces to the surface of her project in today's lesson to make it her own work.
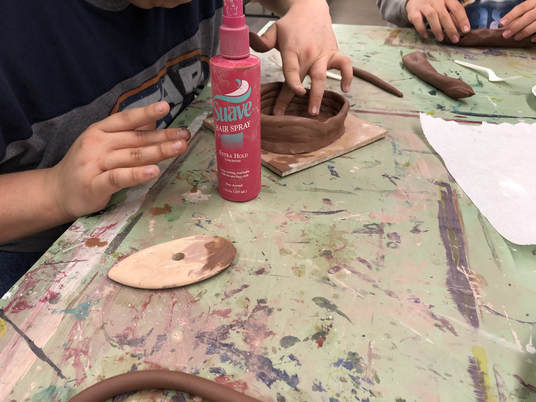
This student also played with adding clay to the surface of her artwork. One thing the student said was "I figured out that you need to make the pieces the right size for this. First, I tried attaching a piece but it was too big and would support itself. I had to make it a little bit smaller and now it's able to hold its own weight!" The student demonstrated a clear understanding of some of the limitations working with clay poses.
Students wrapped up this meeting with finalizing their forms and preparing them for firing. The students worked very hard in this class period and created some great pots and mugs. One student noted his biggest challenge from the day was making sure every piece was attached and smoothed out to liking. "Clay can sort of have a mind of it's own, but I hope the work will pay off!" The students are eager to see their work fired and finish with painting them in our final meeting. Check out the gallery below of some of the work from today!
